From planning and design to construction and materials, we'll walk you through every step of the process to help you create a beautiful shed.
Step 4: Design Your Shed
Your Build-It-Better coach can help you plan your shed to avoid unexpected issues and make the process run smoothly. Below you will find information relating to the most important steps in designing the structure of your shed and some of the potential issues that you can prepare for before you meet with your coach.
Location
The first thing to consider when building your shed is the location on your property because location can change many elements of your design.- Standing water and where it drains in your yard will determine how long your shed will last. A poured foundation in a low area may only last a few years before cracking, unless the area is properly prepared and drains have been created to move the water away from your foundation.
- Changes in elevation can determine which foundation you can use. A fairly steep incline may mean you are only able to use concrete footings, whereas a perfectly flat backyard can allow you to use just about any foundation style.
- Drainage needs to be considered if you wish to install your shed close to your primary building. You may need to install eavestroughs and downspouts leading away to reduce erosion and the chance of water seeping in to your foundation. Likewise, if your shed is going to rest in the lowest spot in the yard, you may need to create a drainage trough to ensure water does not penetrate your foundation and damage things within your shed.
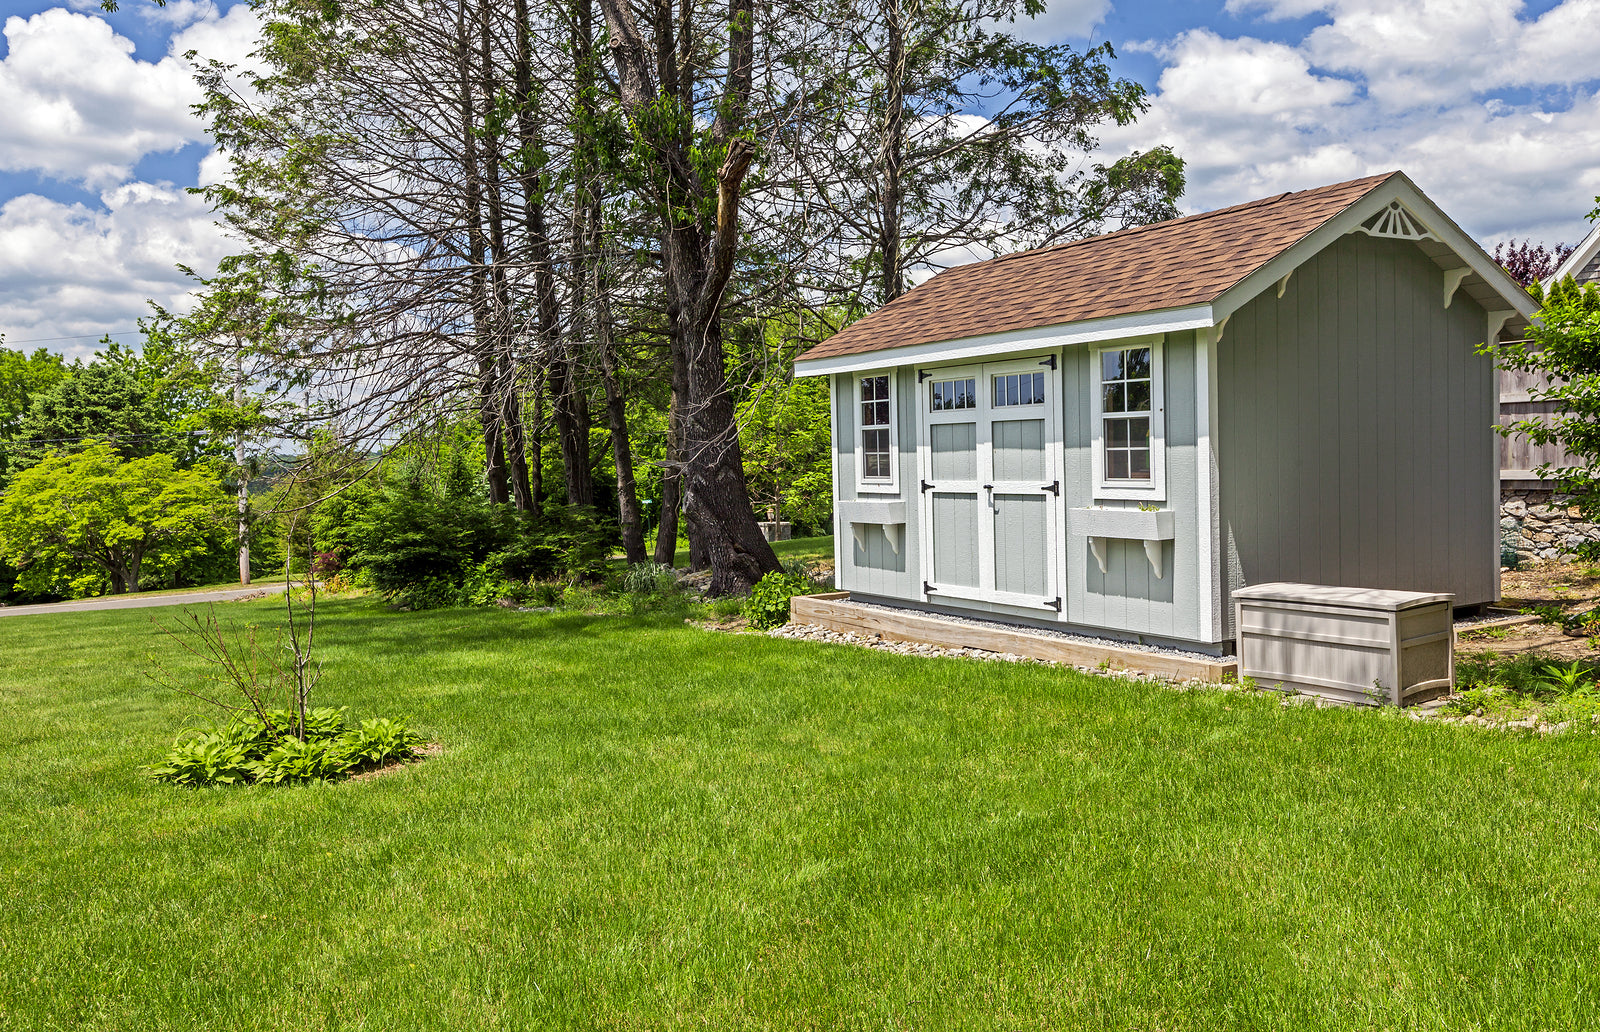
- Trees and other landscape features can alter your plans considerably. Cutting down a tree may be easy but dealing with the trunk and root system is more difficult. In addition, building your shed too close to a living tree can cause the tree to suffer, or the foundation to crack in the future due to the roots growing under it.
- How close to the property line you are allowed to build in your municipality is something to consider as well. If you want to build your shed close to a property line, please reach out to the municipal planning office to verify how close you are allowed to place it.
- Sightline may also be a factor. Some homeowners associations may limit the location or even height of your shed to prevent the sightlines across the complex from being disrupted. If you are under an HOA agreement please reach out to them to find any regulations they have regarding sheds before speaking with your Coach.
- It is a good idea to get a couple of wooden stakes and a string to do the layout in your yard, this will allow you to visualize exactly how the shed will sit in your backyard.
Foundation
The foundation of your shed may seem like an easy step, however, you will need to consider many factors to decide what works best for your project.
- Patio Stones are probably the most common shed foundation and they work well when structure and weight is not a concern. Many prefabricated sheds are set on patio stones, but they can shift in the winter when the ground freezes and thaws, and this can cause issues down the line. You will still need to prepare the area under the patio stones with a type of crushed rock such as screenings, to allow for drainage and to level the patio stones.
- Deck blocks are trapezoidal concrete forms that sit on leveled drainage pads on the ground. Deck blocks are more like structural foundation than simple patio stones, but require more framing design for the joists and/or beams to carry the load between the deck blocks.
- Concrete pads are quite durable and provide extremely good structure for your shed, however, they cost more than the above options and take more work to get correct. The benefits of a concrete pad are that it can last as long as your house foundation and it can support the weight of heavier things such as a riding lawnmower or a motorcycle. It will also eliminate the need for joists and beams as you can bolt your walls down directly to the concrete.

- Concrete Piers are the least common form of shed foundation as they are fairly expensive and harder to install, but they can solve problems with things like elevation and drainage that other foundations are less ideal for. You will still need to use joists and beams to carry the load of the shed structure.

- Helical piles are a new style of foundation that resemble giant screws that a piece of heavy machinery sinks into the ground. These are beneficial as they provide structure similar to a pier, but they do not require the same workload to dig the holes and pour concrete. Although, a company that installs these will be needed as the equipment used is very expensive and impractical to buy for a single use.
- It is not advised to place a shed directly on soil as even Pressure-Treated materials are prone to rot in such a situation.
Framing
The level of complexity that you may encounter with your framing will depend on your foundation, all Sheds require wall and roof framing but some foundations will require floor joists and possibly support beams as well.
- Beams may be required to carry the weight of your structure (commonly referred to as the ‘load’) between the foundation supports. A beam is typically two, three or four 2X8 pieces of wood nailed together that span between supports depending on the size of the shed and the weight being supported.
- If you require floor joists they can be 2X6 or 2X8 material running between beams or supports depending on the amount of support provided by the foundation and the size of the shed.
- Joist hangers are a great way to run the joists between your support beams, they carry a tremendous amount of weight and are engineered to support a much greater load than ‘toe nailing’ the joist to the beam.
- Your subfloor material is sheets of plywood or OSB (Oriented Strand Board) laid on top of the joists and are installed before the walls if a subfloor is required.
- 2X4 wall framing is typically sufficient for most Shed applications. 2X6 wall framing material is only required for larger applications such as a Garage, a home workshop, or a Tiny House.
- 2X4 material is typically used for rafters or trusses in most sheds as the snow load is less than a house, but a larger or more complicated roof may require 2X6 material.
- A ridge beam for rafters is typically one size larger than the rafters themselves. For example, 2X4 rafters will use a 2X6 ridge beam.
- Collar ties are 2X4 braces that span between each pair of rafters near the top to keep the snow load from pushing the roof apart. Rafter ties are similar but are installed near the bottom of the rafters. Rafter ties are not required with manufactured trusses as these supports are designed into the truss itself.
- Hurricane ties are an important part of the roof system as they hold your rafters or trusses to your wall to resist upward force.
- Pressure-treated lumber can, contrary to a commonly held belief, be used within a structure such as a shed or house. While it costs a little more it can be a good solution to prevent rot and replacing parts of your shed early.
- You can clad your roof with plywood if you are doing a traditional asphalt shingle, however steel roof systems are recommended to use strapping instead of sheeting.
Doors
You will require at least one door for your shed, be it a person sized door, a large barn door, a roll-up door, or something a bit nicer looking like a garden door or patio door.Here are some Pros and Cons of each type of door.
- Roll up doors are quite expensive and require experience to install, but they allow for a large opening with a small footprint and don’t need a ‘swing space’ to let equipment such as a lawnmower.
- Barn Doors are typically built on site and can swing or slide on a track, and can be single or double doors. Note that sliding barn doors can have issues creating a tight seal around your doorway so ensure you know if the area you are installing your shed is prone to driving rains which may change what door is best for you.
- Utility doors are steel clad doors that come prehung in the frame. These doors allow for a fast installation, but you may be limited in style and size.
- Garden doors are double swing doors that have a central post. Some are removable (meaning you can open both doors and have a large opening to pass something very wide through) and some are fixed. Be sure you get the one that fits your project best.
- Patio doors are double glass doors that slide behind each other and allow for plenty of light into the building but are not suited for utility sheds due to the expense of the doors themselves and the chance of breaking glass.
- Entry system doors are the same style as the front door of your house. Sometimes these doors have sidelights beside the door or a transom above it. Entry doors can be a great option for a She Shed, Man Cave or Tiny Home but the costs involved are much greater than the above doors.
Windows
Not all sheds require windows, however, they let in plenty of natural light and in some cases they will remove the need to have electricity run to the shed for lighting. Here are some options for windows, and their respective qualities.- Shed style windows are single pane, sliding uninsulated vinyl windows that are pre-sized and do not have much of a pre-installed window jamb. They are designed to reference into the siding instead of having a full 2X4 jamb. These windows are utilitarian and inexpensive and as such they are a good option for a backyard storage shed.
- House windows are also typically vinyl windows and have a larger jamb installed to span a 2X4 or 2X6 wall. They can have brick moulds or siding flanges installed as well for a more finished look. There are more options for function than shed style windows such as awning, casement, single or double hung, fixed (picture) windows, single sliding and double sliding. They are insulated as they are designed for a house so they can be a good option when the shed has functions beyond storage such as a tiny house, or if the shed is going to be insulated.
- Skylights or sun tunnels are less commonly seen in sheds, but they can be a great addition to allow natural light in without the need to lose wall space that could be used for storage instead. Typically skylights cost more than standard windows, so you will need to decide if they are worth the addition. In addition, some skylights, such as an automatic venting skylight, will require electricity in order to operate.

Visual Learner? We get it.
We get it. Turkstra TV is full of helpful videos to get you up and running on your next home improvement project.

Our Coaches have your back
Need help? Talk to our professional coaches - it's free.
Get preferred pricing & exclusive promos with Build-it-Better.
Receive exclusive, members-only discounts on select products each month! Sign Up for Free >
